☁Project 1: Deploying a Node.js App on AWS ECS Fargate and ECR🖥

👋 Hello there! I'm Vivek, a DevOps enthusiast with a keen interest in streamlining software delivery. I hold a Master's degree in Computer Applications and have a solid foundation in key technologies such as Linux, Git, Docker, Kubernetes, and AWS.
💻 My passion lies in automation, ensuring efficient and seamless processes throughout the software development lifecycle. I thrive on creating robust CI/CD pipelines that empower teams to deliver high-quality software with confidence.
🚀 Beyond the code, I enjoy the ever-evolving world of DevOps and the challenges it brings. Join me on this journey as I explore new ways to enhance software delivery and foster a culture of continuous improvement.
Let's connect, collaborate, and make the world of DevOps even more exciting together
👓INTRODUCTION
Automate the deployment of a Node.js Application on Serverless AWS ECS fargate with the image repository on ECR and the cloudwatch login integrated with proper IAM roles and configuration.
In the Above Cover Image First we will Bring our application code from Github to the EC2 Instance of AWS Using
Git clonecommand.Now, We have to make docker image of Application and Push that on ECR(Elastic Container Registry) Services it is used to store docker images,for that your EC2 instance must have the acess of ECR.
To give Acess of ECR to EC2 Instance we will use IAM(Identity Acess Management) service. In which we will give acess of ECR full acess,for that we have to create a user and make policy for that.
After Giving acess we are able to push docker image on ECR. and from there we can run our Image on ECS(Elastic Container Service).
And from Cloudwatch we can acess the logs of Application.
✔Pre-requisites
Before diving into deployment, let's ensure you have everything you need:
Dockerfile Familiarity: We assume you're comfortable with writing a Dockerfile to containerize your Node.js application.
Access to AWS Management Console: Make sure you have access to the AWS Management Console to perform necessary configurations.
Basic EC2 Instance Knowledge: Understanding the basics of setting up an EC2 instance.
📁Project Steps
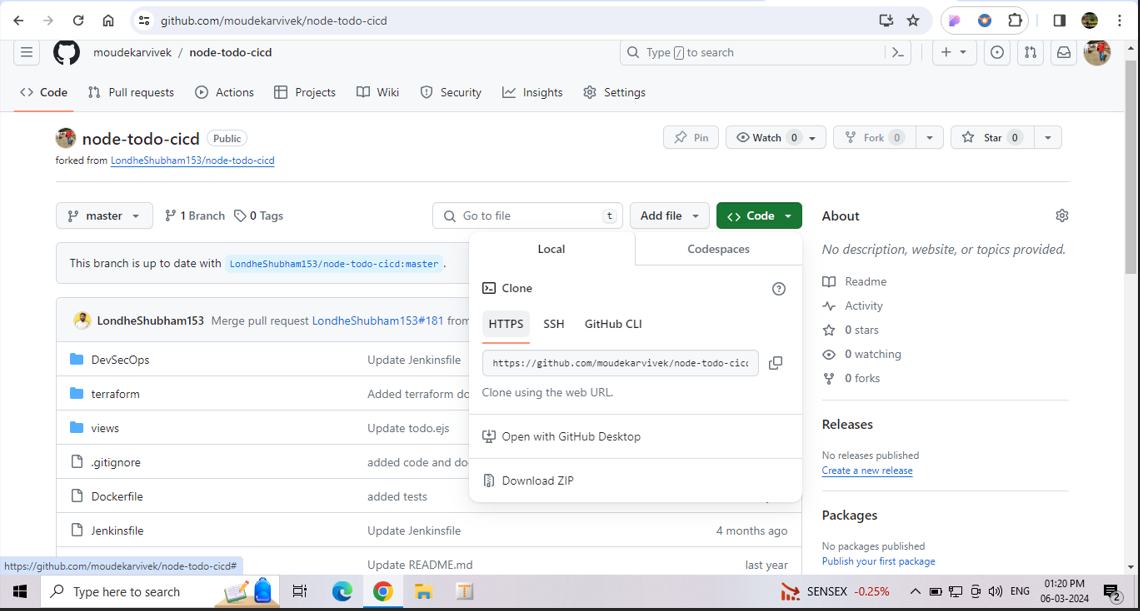
Cloning the Source Code from GitHub
Source Code Retrieval: Head over to your GitHub repository and copy the URL of your Node.js application's source code.
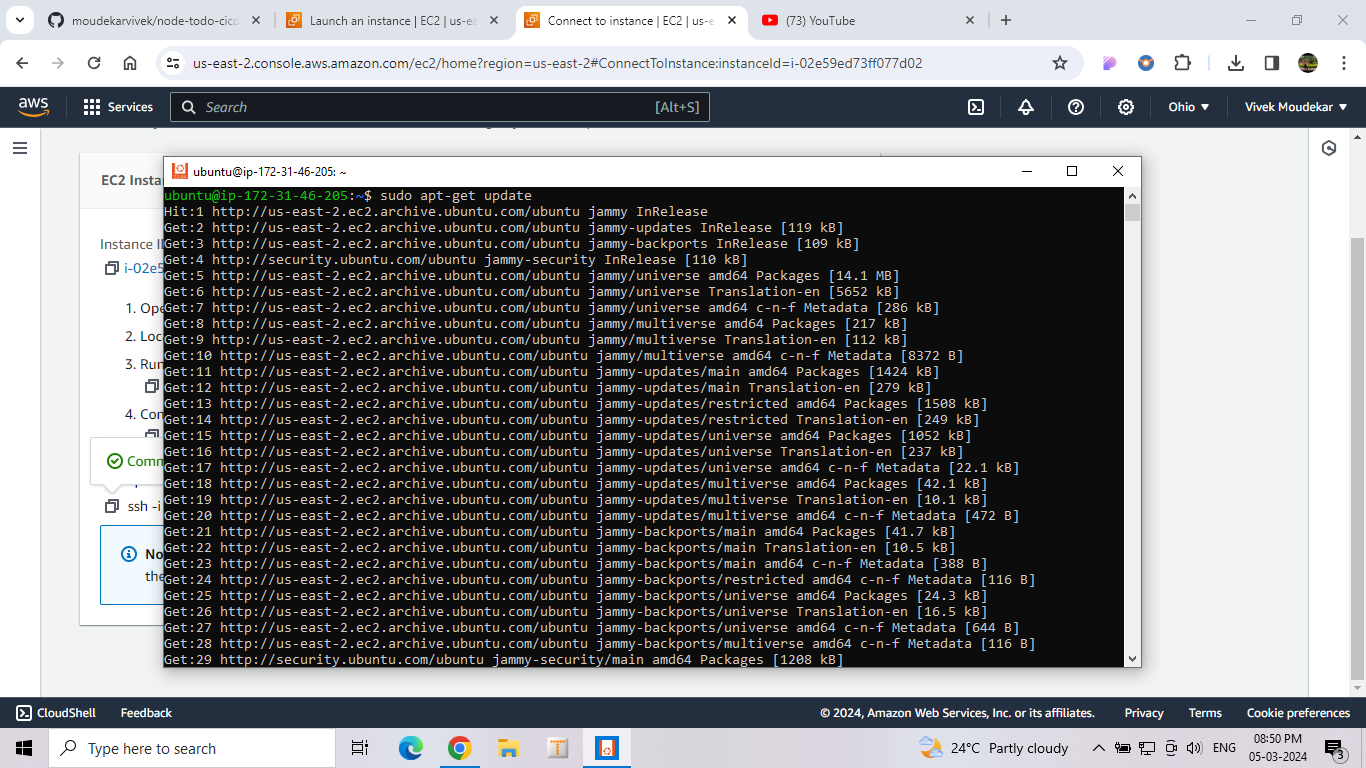
EC2 Instance Creation: Using the AWS Management Console, create an EC2 instance where you'll clone the repository.
1) Create a instance connect the instance with ssh Client method to local machine.
2) After connecting our instance first update your terminal using Command sudo apt-get update.
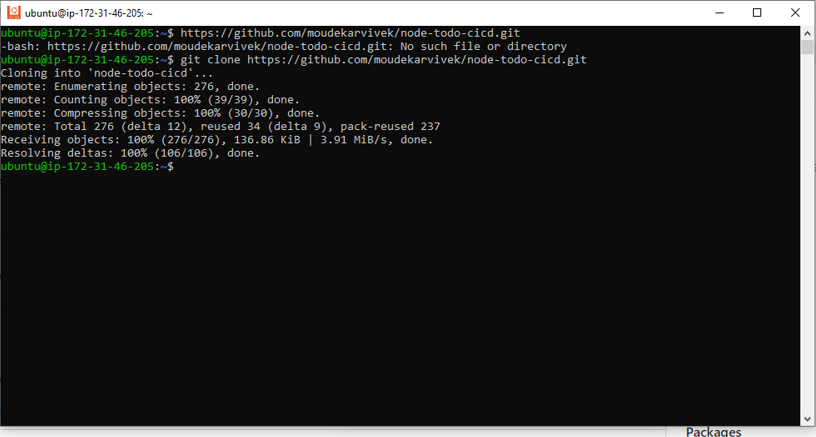
3) Our System got up-to-date now bring your application code from github to local machine using command git clone <URL> .
⚙Configuring Image in AWS ECR
ECR Repository Creation: Navigate to AWS ECR and create a repository to store your Docker images. Customize the repository settings as per your requirements.
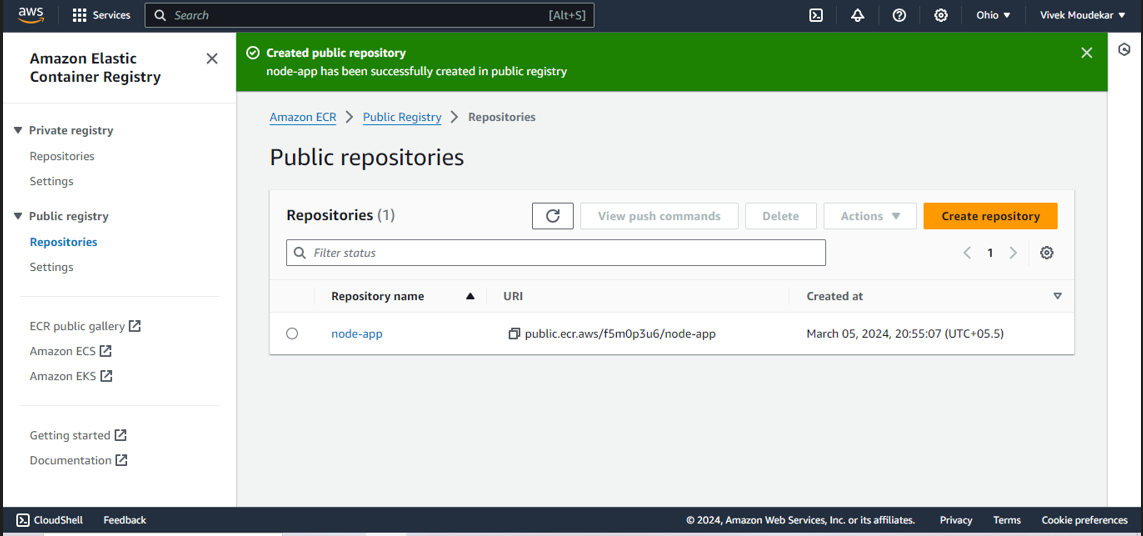
We have Created a repository on ECR naming node-app to store the docker images. But in that repository there is no docker images available in that.
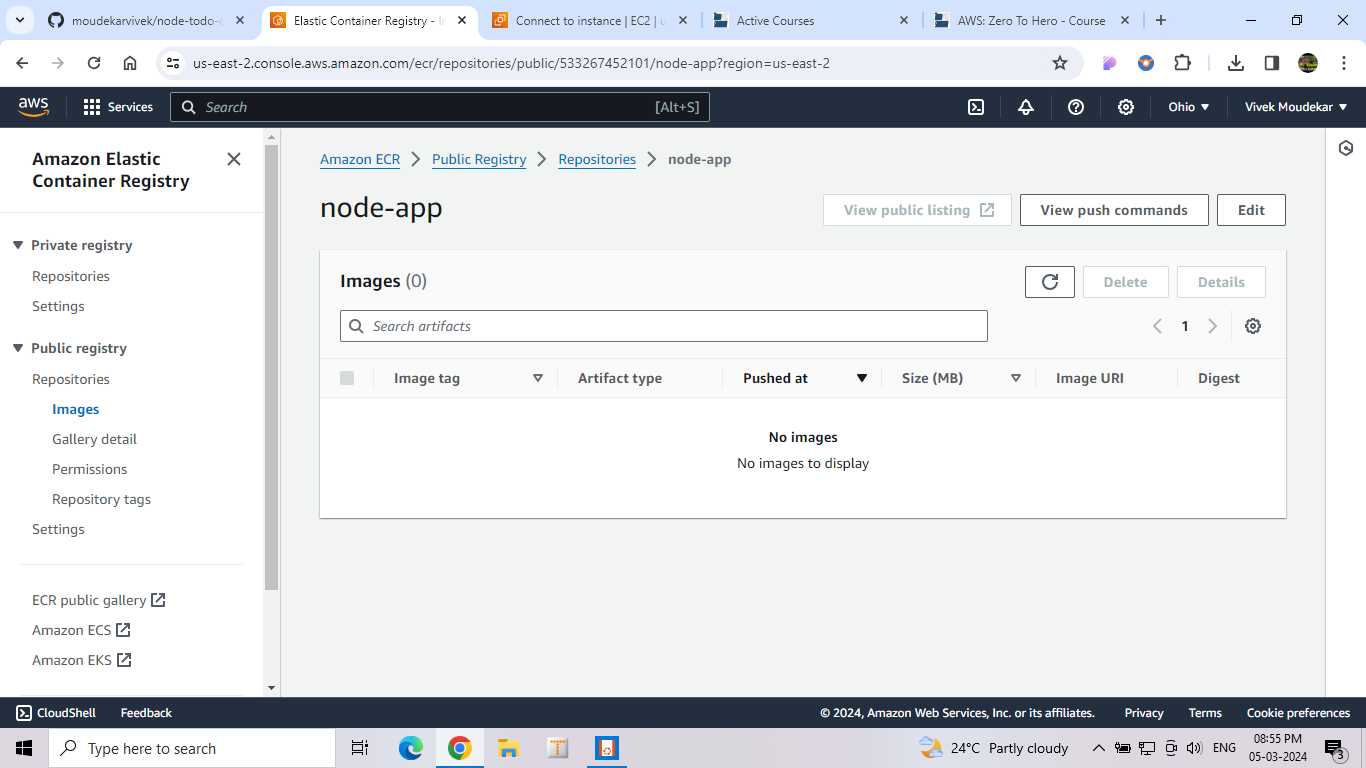
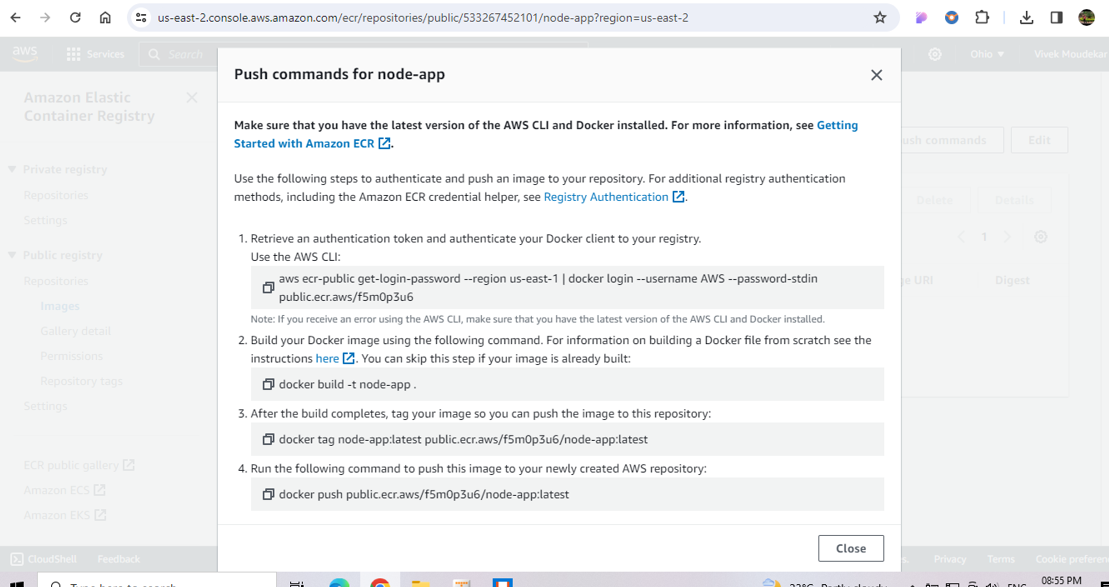
Click on view Push commands so that we can push images here.
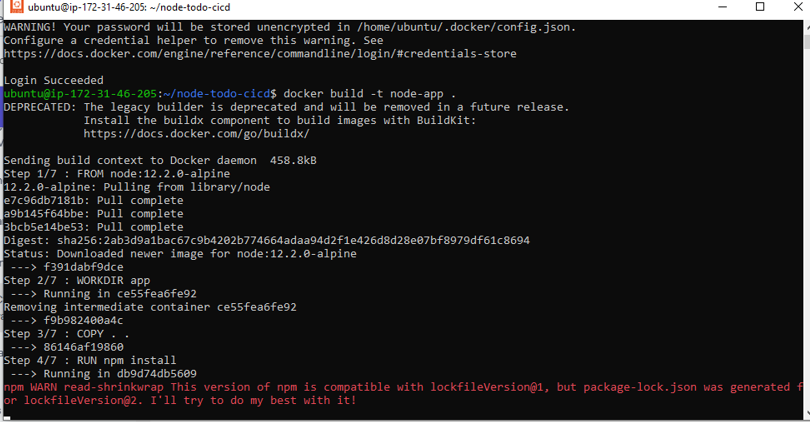
GO on Local terminal first install docker using command
sudo apt install docker.io, When we are installing docker this means we are building the docker image on this EC2 instance.Now, will try docker command
docker psBut it will denied the permission of docker,user don't have permission of docker.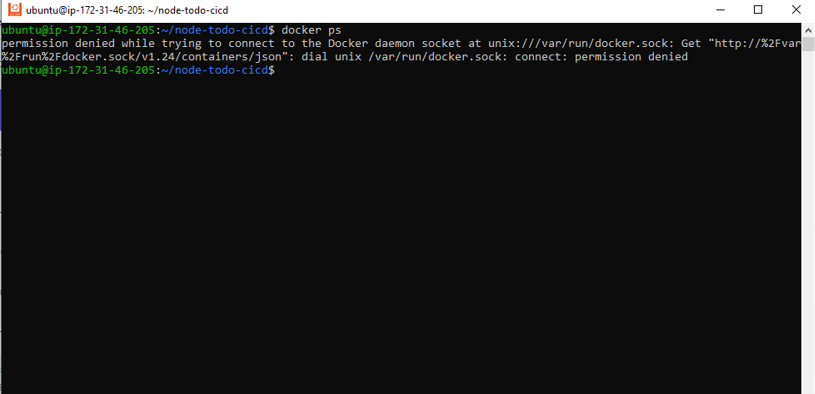
Add user to the docker group using command
sudo usermod -aG docker $USERour user added to the docker group now reboot systemsudo reboot,To implement changes.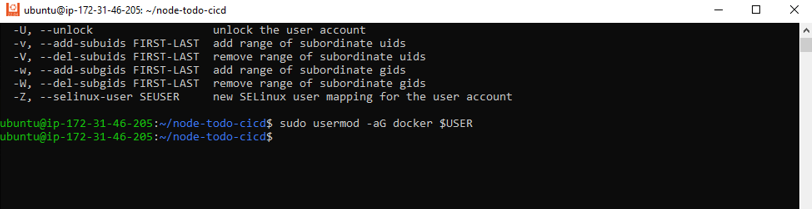
check
docker pscommand now no error as we have added docker to usergroup.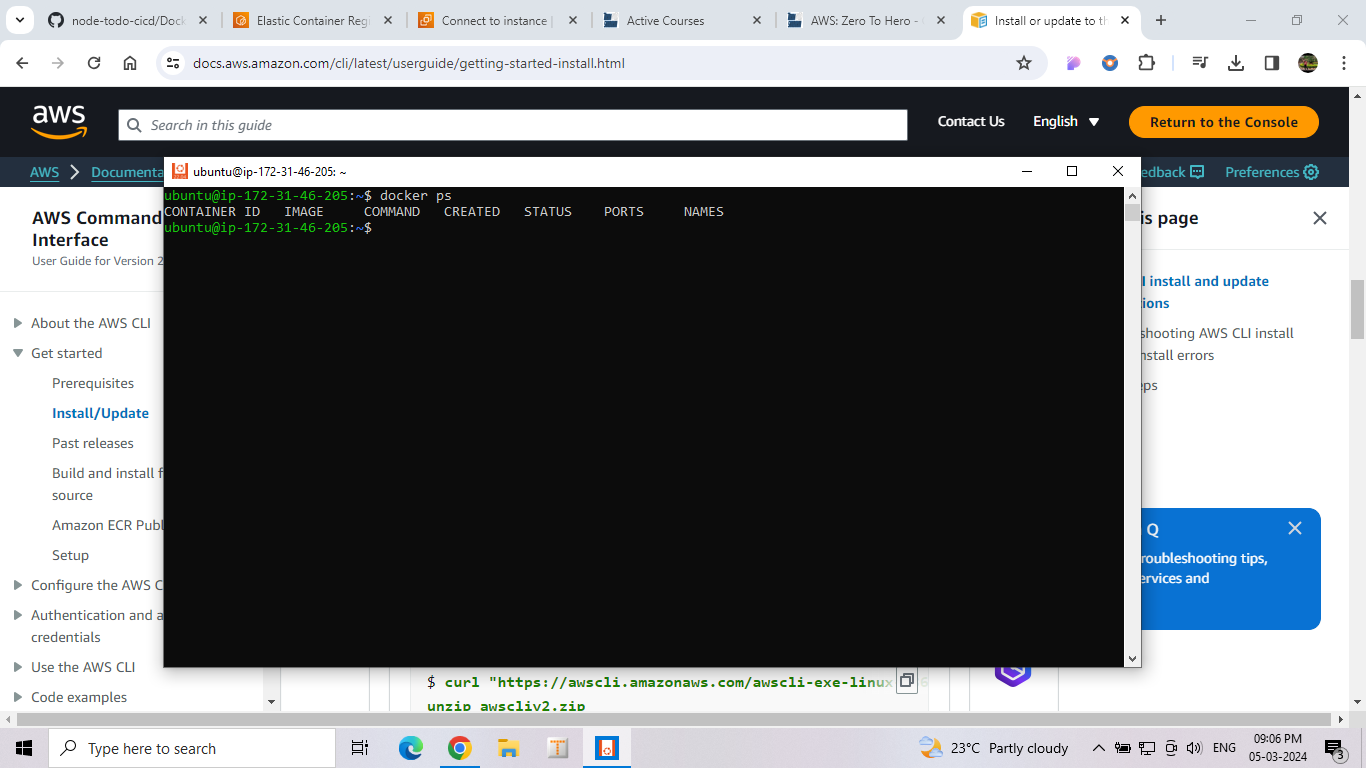
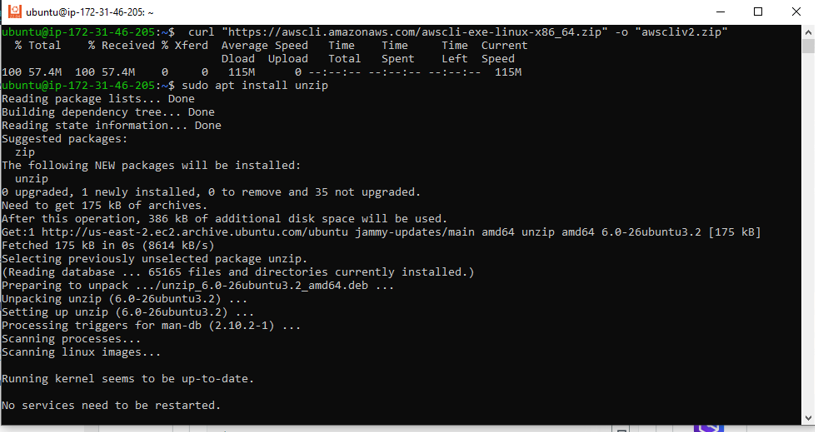
Go to google install AWS CLI unzip that in terminal.
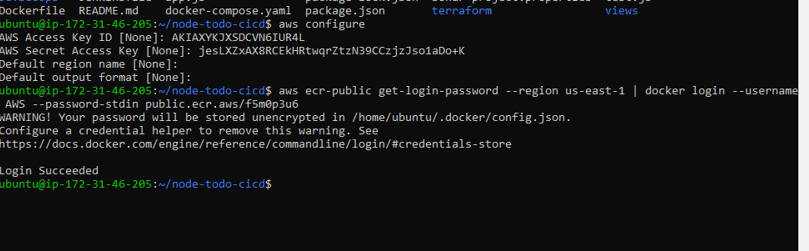
Below are the push commands that we have to run on our local terminal to push our image on this repo. but to push images on ECR we want to make sure that vivek user which we have created in IAM have permission of ECR.
🔍Configuring IAM
IAM User Creation: Create an IAM user in the AWS Management Console with appropriate permissions to access ECR.
Policy Attachment: Attach policies granting necessary permissions for ECR access to the IAM user.
AWS CLI Installation: Install the AWS Command Line Interface (CLI) on your EC2 instance.
AWS CLI Configuration: Connect your EC2 instance to the AWS Management Console using the AWS CLI for seamless interaction.
🏹Pushing the Image to ECR
ECR Push Commands: Access the AWS ECR console to obtain push commands for your Docker image.
Now, Follow this above command and run it one by one
Execution: Execute the provided commands on your EC2 instance to push the Docker image to ECR, ensuring a secure and efficient process.
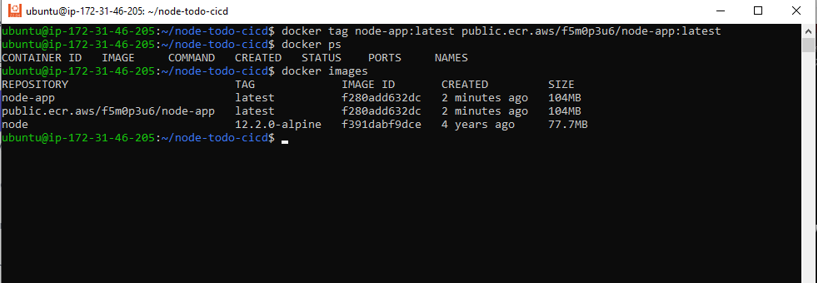
We can now see after following above push commands we have successfully pushed docker images on ECR.

⚙Configuring AWS ECS
ECS Cluster Creation: Navigate to the ECS repository in the AWS Console and create a new cluster.
Configuration Details: Provide necessary details such as cluster name, VPC, and subnet settings to tailor the cluster to your requirements.
Launch Type Selection: Opt for AWS Fargate as the launch type for your cluster to leverage its serverless capabilities.

🌱Using AWS Fargate
Task Definition Creation: Define a task for your cluster, specifying container image details and required ports.
Resource Configuration: Configure CPU and memory resources based on anticipated application load to ensure optimal performance.
Task Deployment: Review the details and create the task, followed by deployment and execution on the cluster using Fargate's automated management.
The task is now deployed to the cluster.
Open Port in the Security Group
Security Group Configuration: Navigate to the ENI ID associated with your task and access the corresponding security group.
Inbound Rule Modification: Open Port 80 (HTTP) in the inbound rule and restrict access to your IP for enhanced security.
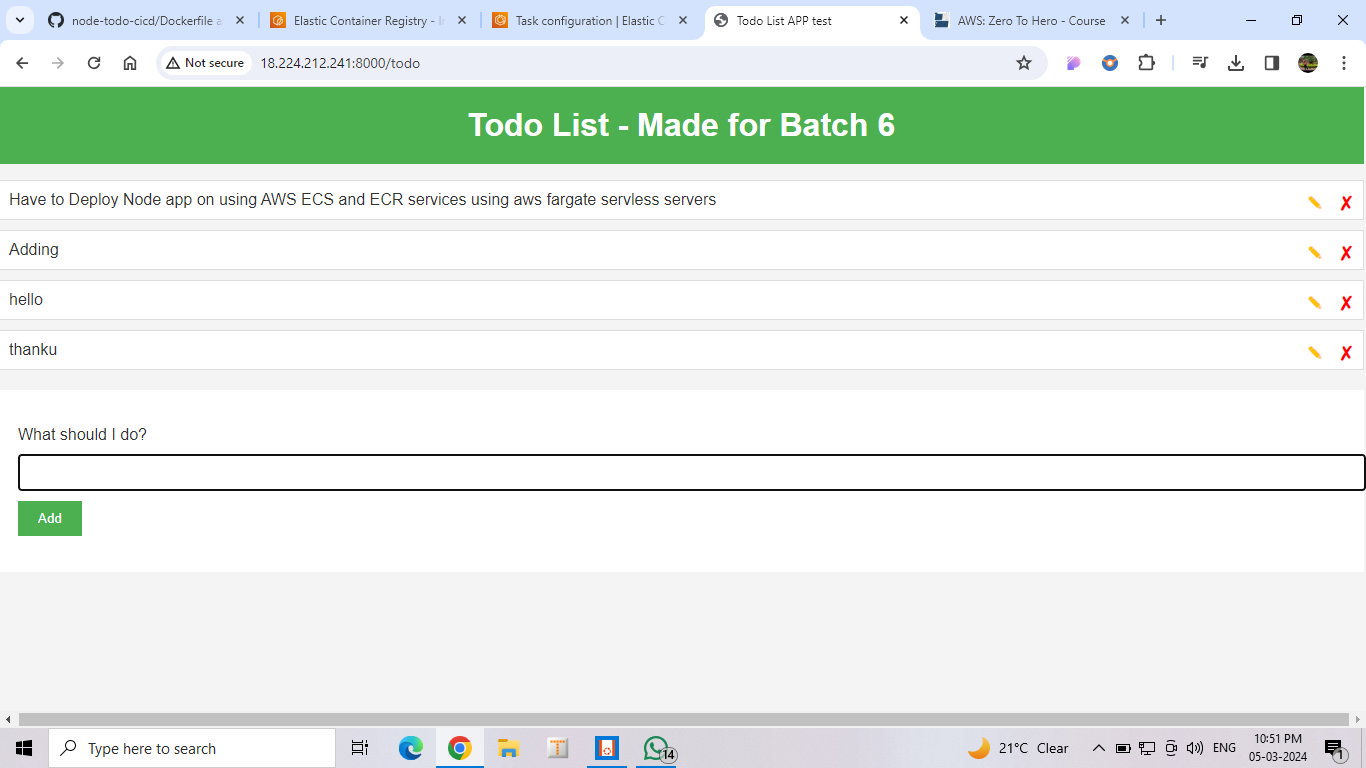
🖥Project Live Execution
Accessing Task Details: Navigate to the task created earlier and retrieve the public IP.
Application Access: Access your live Node.js application using the provided IP address, witnessing your deployment in action.
🚧Conclusion
Congratulations on successfully deploying your Node.js application on AWS ECS Fargate and ECR! By following this detailed guide, you've not only achieved deployment but also gained valuable insights into AWS cloud services. Enjoy exploring the endless possibilities of cloud deployment and have a fantastic day!


